Henrik's Sour Bread
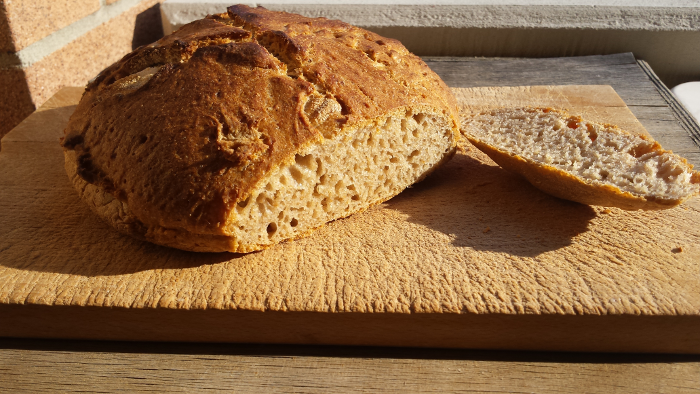
I see many recipes on bread there use 1 or 2 whole cubes of yeast, yes there is even added some sugar, it is often based on white flour, all to let the dough rise as fast as possible, maybe within 2 - 3 hours. I call this kind of bread Puff Bread. Depending on which flour there is used and the process the dough has passed, this bread can be very tasty, when it just comes out of the oven, not always! But the day after, it taste of nothing and the structure is kind of dull. When you are less lucky, the bread can taste of yeast and the structure is boring, the whole bread can be heavy and even difficult to digest. Don't forget these kind of breads, have a very high glycemic index, there is very near sugar, and not the most healthy to eat.
Here I describe a bread, with a very rich umami taste, there is a bit lower on the glycemic index scale.
For two loaf of bread:
- 600-700g water
- 200g sourdough
- a very small piece of yeast (eventually)
- 1000g wheat flour
- 20g salt
Fill a bowl with hand warm water, more water will give a more light bread, but is more difficult to knead, add the sourdough. You can eventually add the 1/8 of a cube of yeast, this can help to give the bread a more airy structure, but be careful not to add too much yeast, as it will steal the taste of sourdough from the bread. Stir the water until the sourdough is dissolved.
Add the wheat flour. I like to use type-2 flour, togeter with a bit of whole wheat flour (100-200g whole wheat flour). You can also use 100% whole wheat flour if you like. Depending of the type of flour, the bread and the dough change taste and structure, sometime the dough can be very sticky to work with - that is OK - but if it is too sticky for your taste add a bit more flour, I like to work with a very hydrated dough.
Now mix the water and flour until the flour absorbed all the water, and let the dough rest 20 minutes. This way the dough extract the taste of the flour.
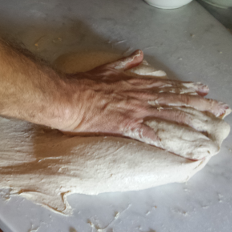
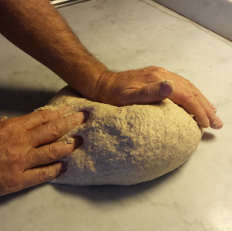
Add salt and start to knead the dough. When the salt is kneaded into the dough, take the dough out on the table and and continue kneading. The kneading is important as it develop the gluten in the dough, there later will create the whole structure of the bread. You need to knead a lot, eventually set a timer on 10 minutes to be sure you knead enogh. When you can pull the dough out paper thin, without it breaks, you have kneaded enough.
There are different kneading techniques and doing it the right way can make the difference from a normal home made bread to a light and structured bread.
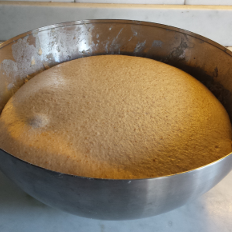
Put the dough back in the bowl. Cover it and allow the dough to rise for 6-12 hours.
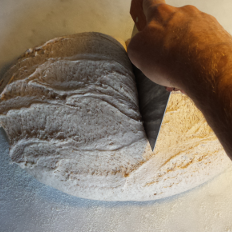
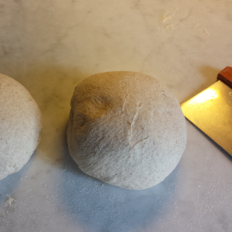
After the dough has raised, pull it careful out of the bowl onto a floured table, try not to brake the the structure of the dough. Divide the dough into 2, and bend each part 3 times over itself. Form two balls very carefully, try to keep the structure of the dough.
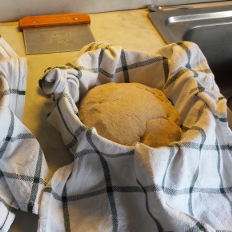
Place each part of the dough in a small bowl cover with a piece of cloth, remember to spread some flour over the cloth before the dough is putted in, let the dough rest for another 6 hours
Set the oven to 250°C. I like to bake my bread in a dutch oven (cast iron pot) inside the oven, as it give a very crispy crust. I let the dutch oven stay in the oven while it is heating.
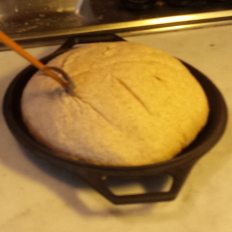
Put the dough carefully into the bottom part of the dutch oven. Cut the dough with a razorblade. Cover the dough with the top part of the dutch oven.
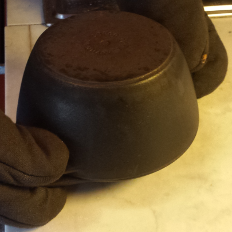
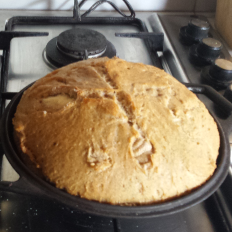
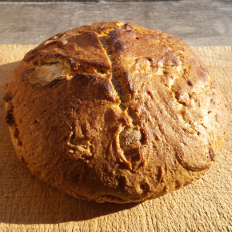
Bake the bread for 15-20 minutes in the dutch oven within the oven, open the dutch oven by taking the top of, and continue the baking with 200°C for an other 15-20 minutes, or until the bread has a golden color you like and a hollow sound, when you knock on the bottom of the bread.
Let the bread rest until it is ready to be eaten.
Idea: Add some walnuts when you have just finished the kneading and work them into the dough.
 |  |  |
 |  |  |
 |  |  |
 |  |  |